Guide to Hytale's Server-First Modding
Hytale redefines game customization with its innovative "server-first" modding philosophy. This foundational approach ensures that the vast majority of game modifications—from new items and creatures to entire gameplay systems—are managed and distributed by the server, even when you're playing solo. This creates a stable, secure, and, above all, consistent experience for every player, eliminating the client fragmentation common in other sandbox games and uniting the community under a single, evolving game client.
Core Principles of Hytale's Modding System
Understanding these key concepts is essential before diving into the world of Hytale modifications. They form the bedrock of how content is created, shared, and experienced.
- Server-Side Authority: Mods are fundamentally tied to the game world or server. When you connect, your client downloads the necessary custom assets and data rules directly from the server, ensuring everyone sees the same game.
- No Traditional Client Mods: Forget manually overwriting game files. Hytale does not support direct, persistent modification of the core client code by players. This keeps the base game stable and secure for everyone.
- One Client, Infinite Worlds: You will never need multiple game installations or version juggling. A single Hytale client can seamlessly connect to any server, from a vanilla adventure world to a heavily modded roleplaying realm, downloading required content on the fly.
- Solo Play is a Local Server: Even your single-player world runs on a lightweight, local server instance. This means you can enjoy the full power of server-side mods entirely on your own, creating a deeply personalized solo adventure.
The Hytale Modding Ecosystem: A Toolkit for Creators
The modding framework is designed to be both powerful and accessible, offering creators multiple avenues to express their vision. The table below outlines the primary types of modifiable content and their impact on your game.
| Mod Type / Asset | Core Function & Description | Potential Examples & Impact |
|---|---|---|
| Server Plugins (Java) | Programmatically extend server logic. These are high-powered tools for deeply modifying game rules, systems, and interactions. | Complex mini-game systems (parkour, PvP tournaments), player-driven economies, custom admin commands, entirely new gameplay mechanics (magic systems, custom classes). |
| Data Packs (JSON) | The heart of content creation. These files define the behavior, stats, and properties of in-game entities, items, and world generation rules. | Adding new weapons, armor sets, and crafting recipes; creating custom NPCs with unique dialogue; modifying monster spawns and loot tables; scripting dynamic world events. |
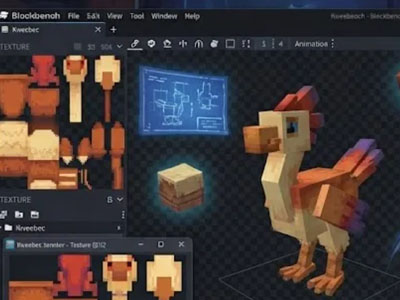
| Art & Audio Assets | Provide the visual and auditory identity for all game elements. Essential for immersion and establishing unique aesthetics. | High-resolution texture packs, custom 3D models for creatures and blocks, original sound effects and music, themed UI overhauls, and visual effect (VFX) packs. |
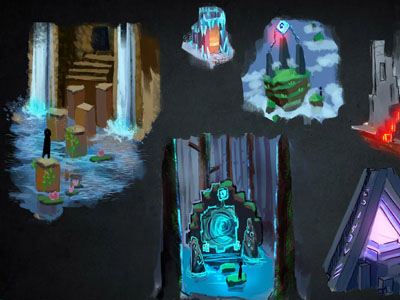
| World Generation Mods | Fundamentally alter the procedural creation of the world's terrain, biomes, and structures. | New fantasy biomes (floating islands, crystal deserts), elaborate multi-level dungeons, sprawling ruined cities, and custom village types for different cultures. |
| Adventure Maps & Prefabs | Complete, hand-crafted experiences or modular builds shared as save files or world templates. | Narrative-driven adventure campaigns, puzzle maps, iconic building designs (castles, spaceships), and pre-built towns ready for server integration. |
How to Install Mods for Solo Play (Your Local World)
Playing solo doesn't mean missing out. Installing mods for your personal world is straightforward, especially with integrated platform support. Remember, these "client-side" downloads are actually resource packs and data files that your local server will use to modify your game.
Method 1: Using the CurseForge App (Recommended)
The CurseForge application provides the simplest, most user-friendly way to discover, install, and manage mods for your Hytale solo worlds.
| Step | Action | Detailed Instructions |
|---|---|---|
| 1 | Install CurseForge | Download and install the official CurseForge application from its website. It's a dedicated game and mod management platform. |
| 2 | Add Hytale to Your Library | Launch the app. Hytale should auto-detect if installed in the default location. If not, manually add it by pointing to your Hytale installation folder. |
| 3 | Browse & Select Mods | Navigate to the Hytale section within CurseForge. Browse categories or search for specific mods. Read descriptions and version compatibility notes carefully. |
| 4 | One-Click Installation | Click the "Install" button on your chosen mod. The app automatically handles downloading, dependency checks, and placing files in the correct directory. |
| 5 | Launch and Play | Launch Hytale directly through CurseForge or your normal shortcut. When creating or loading a solo world, the activated mods will be applied automatically. |
Method 2: Manual Installation (For Advanced Control)
For mods obtained outside CurseForge or for users who prefer direct file management, manual installation offers full control.
- Locate Your Mods Folder: First, run Hytale to the main menu once to generate necessary folders. Then navigate to:
Operating System Mods Folder Path Windows %appdata%\Hytale\user_data\mods(Paste this into File Explorer's address bar)macOS ~/Library/Application Support/Hytale/user_data/modsLinux / Steam Deck ~/.var/app/com.hypixel.hytale/data/Hytale/mods - Prepare the Mod File: Download the mod (usually a
.zipor.hymodfile). If it's archived, extract it. You should get a folder containing the mod's contents. - Install: Place the entire mod folder (or the specific
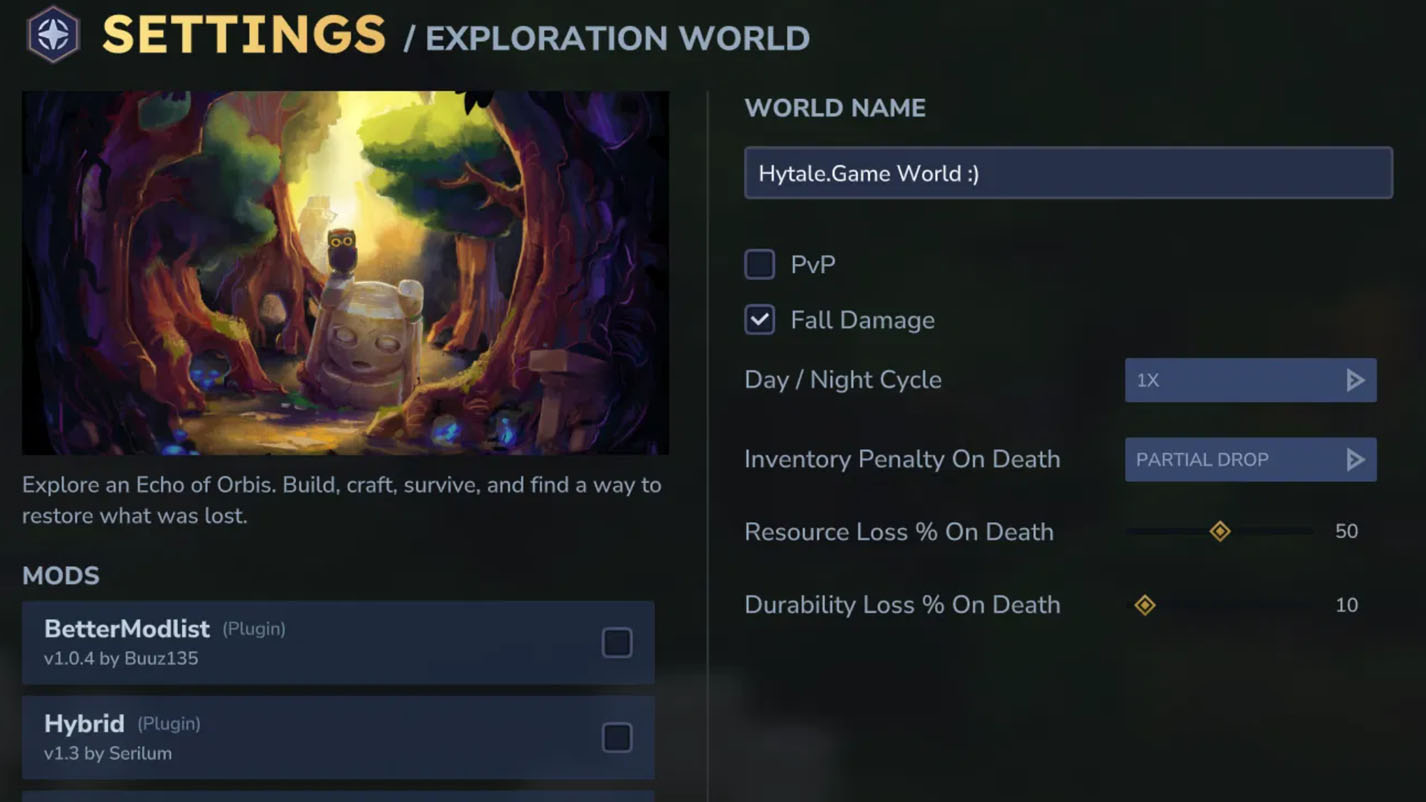
.jar/.hymodfile as per instructions) directly into themodsfolder. Do not nest it inside extra folders. - Activate: Launch Hytale. When starting or loading a solo world, you may need to activate the mod from an in-game "Mod Management" menu, if applicable.
How to Install Mods on a Dedicated Hytale Server
For multiplayer servers, this is the primary method. Whether you're renting a server or hosting one yourself, the process centralizes control with the server administrator.
| Step | Action | Details & Best Practices |
|---|---|---|
| 1 | Access Server Files | Connect to your server's control panel (e.g., for hosts like Shockbyte) or navigate to your local server installation folder. |
| 2 | Stop the Server | CRITICAL: Always fully stop your server before adding, removing, or updating mods to prevent data corruption. |
| 3 | Locate Server Mods Folder | Find the mods directory, typically at the root of your server file structure (e.g., /HytaleServer/mods/). |
| 4 | Transfer Mod Files | Upload the mod's .jar file (for plugins) or asset folders into the server's mods folder via FTP or your host's file manager. |
| 5 | Configure & Restart | Some mods require editing a config file first. Once ready, start the server. Check the startup logs to confirm the mod loaded successfully. |
| 6 | Client-Side Considerations | Players connecting may need to download assets automatically. Ensure the server's mod list is communicated to players so they can verify compatibility. |
Essential Tips & Troubleshooting for Mod Users
To ensure a smooth modding experience, keep these critical points in mind:
- Version Compatibility is Key: Always double-check that a mod is built for your specific version of Hytale. Mismatched versions are the leading cause of crashes and bugs.
- Source from Reputable Platforms: Download mods only from trusted sources like the official Hytale Community Site or integrated platforms like CurseForge to avoid security risks.
- Understand Dependencies: Many mods rely on helper libraries or frameworks (like a "Mod API" pack). The installation page will list these; you must install them as well.
- Maintain Regular Backups: Especially during Early Access, before adding new mods, back up your world saves and server configurations. Mods can sometimes introduce instability.
- Connection Issues: If you cannot join a modded server, ensure your client is updated, check your firewall settings, and verify that you have allowed the game to download custom content.
The Future of Creativity in Hytale
Hytale's server-first modding system is more than a technical choice; it's a commitment to a unified, creative, and sustainable community. By empowering server owners and creators to craft deep, custom experiences without fracturing the player base, Hytale lays the groundwork for an ever-evolving multiverse of worlds. Whether you're a player seeking new adventures or a creator building your dream game, the tools are designed to bring your vision of Orbis—and beyond—to life.
//Recommendation Guides//